Easy DIY Weekly Menu Board
This shop is part of a social shopper marketing insight campaign with Pollinate Media Group and Sharpie, but all my opinions are my own. #pmedia #EverydaySharpie http://my-disclosur.es/OBsstV . This post also contains affiliate links.
This summer was crazy, like two weddings, a mission homecoming , and on vacation for half of it, crazy. Now that it’s fall and we’re finally going to be home for more than a week at a time, it’s time to start getting into a routine. A routine that includes us cooking at least a couple of times a week. The DIY weekly menu board I made using my cool and colorful new Sharpie Pens this weekend is the first step to getting into that routine.

Before K was born, my husband and I cooked fairly often. Richie cooked more than I did, but I would at least cook once or twice a week. Now? Our conversation after K goes to bed every night is not what are we going to eat for dinner but rather where because we eat out that often. Our new goal is to sit down on Sunday night and put together a meal plan for the week so that I can shop on Monday, and we know what we are having for dinner. Because honestly, eating out every night is not only unhealthy, it’s really expensive. And it gets boring to eat from the same five places over and over again.
This was one of the easiest projects to make, and I love how it turned out. Here’s how I made it.
Supplies:
halloween games for school parties
- 2×3 Canvas
- 10 empty and rinsed juice boxes
- Scrapbook paper
- 7 clothespins
- Washi tape
- Colored index cards
- Colored vinyl
- Paint and paintbrush (if you don’t want a white canvas)
- Sharpie Stainless Steel Pen
- Sharpie Pens Assorted Colors
- Hot glue gun and gluesticks
- Permanent double-sided tape
- Small notepad
Instructions:
Step 1 – Gather your supplies. This is a fairly quick project other than writing out the meal cards, so you’ll want everything together before you start.

Step 2 – Paint your canvas. I chose to paint mine yellow because yellow is the accent color in our kitchen, and isn’t it just a happy color?

Step 3 – Cover your clothespins with washi tape. I tried to stick with bold and modern designs to match our house. Once you’re done covering them with washi tape, label them with the days of the week. I used my new Sharpie Stainless Steel pen that I picked up at Walgreens last week. I may only use that pen from now on. It makes even my ugly handwriting look presentable.

Step 4 – Cover your juice boxes with scrapbook paper. Cut your scrapbook paper into strips that are big enough to cover the entire juice box. Using the scrapbook paper and the double-sided tape, wrap the paper around the box to cover it. I used leftover paper from my DIY to-do board , but you can use whatever you have on hand. Once each of the boxes is covered, use the Sharpie Stainless Steel Pen to write the category of recipes on each box (e.g., chicken, pasta). The pen is perfect because you get the same bold, high-quality writing of a regular Sharpie in pen form and without any bleeding. Seriously my new favorite writing utensil! Make sure you keep one box for extra cards and one box to hold your pens.
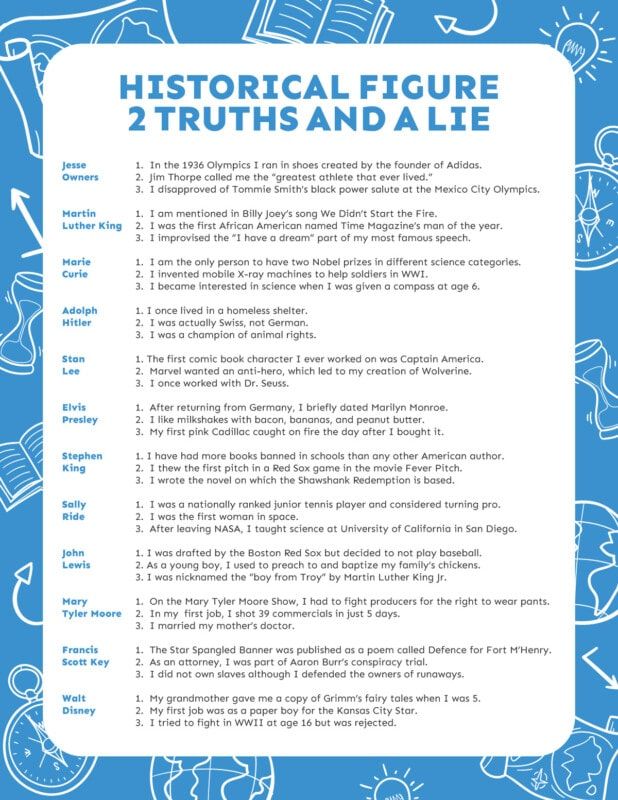
what do the numbers 1234 mean

Step 5 – Make your “meal” cards. This is probably the most complicated step in the entire process. First off, cut all of your index cards in half lengthwise. Then decide how you want to color-code your cards and the pens that you use. For example, I used four different colored cards that indicate the amount of time each meal takes – green is 30 minutes or less, pink is 30-60 minutes, etc. And then on top of that, I used my colored Sharpie Pens to indicate if the meal was one of our family favorites, a recipe I wanted to try from one of our cookbooks, etc. That way when we are planning out our meals, if we know a particular night will be busy, we can just look for green cards with black writing – our quick family favorites.

Once you’ve figured out your system, now comes the fun part – writing down meal ideas. I picked up a Sharpie Pens Assortment 4-pack while I was at Walgreens because I knew the black, blue, red, and green colored Sharpie Pens would be perfect for this project! And bonus, they have a soft grip so my hand wasn’t hurting even after I’d written out 100 different cards.
I wrote the meal name on the front and on the back wrote down the key ingredients that we likely won’t have in our pantry, prep that needs to be done before the meal (e.g., thaw shrimp), and where the recipe can be found (e.g., cookbook A page 100).

Step 6 – Glue everything to your board. Once you’ve finished putting everything together, lay it out on your board to get the spacing right. Then hot glue all of the pieces onto the board where you want them. I added a shopping list on the right hand side, a box for extra cards, and of course, a place to hold my favorite Sharpie Pens.
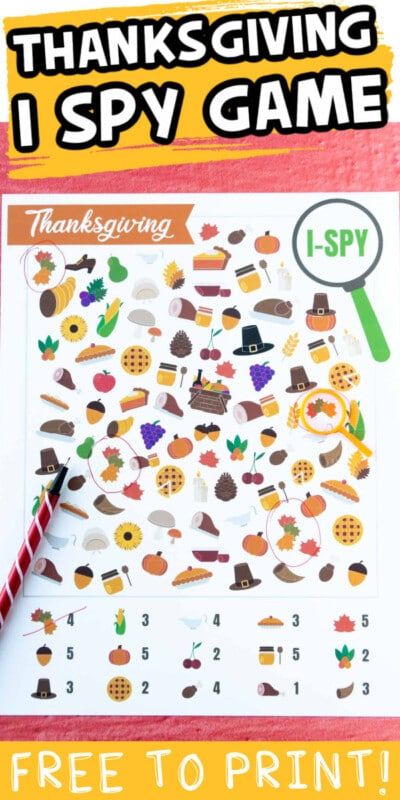
get together party game ideas

I hung it up on the back of our pantry door in the kitchen so that I can see what the plan is for the night and if there’s anything I need to prep ahead of time. It makes the corner area so much more bright and cheerful!

Now at the beginning of each week, Richie and I can just go through and pick out different ideas from the various boxes to create a meal plan for the week. And when I see a new recipe I want to try, I can just create a new “to-try” card and put it in the corresponding box. It seriously makes me want to go into my kitchen to create this week’s meal plan right now but seeing that it’s almost Monday, I should probably go to bed instead.
Do you create a weekly meal plan? I’d love to hear how you keep it organized.